
 +1 302-298-0035

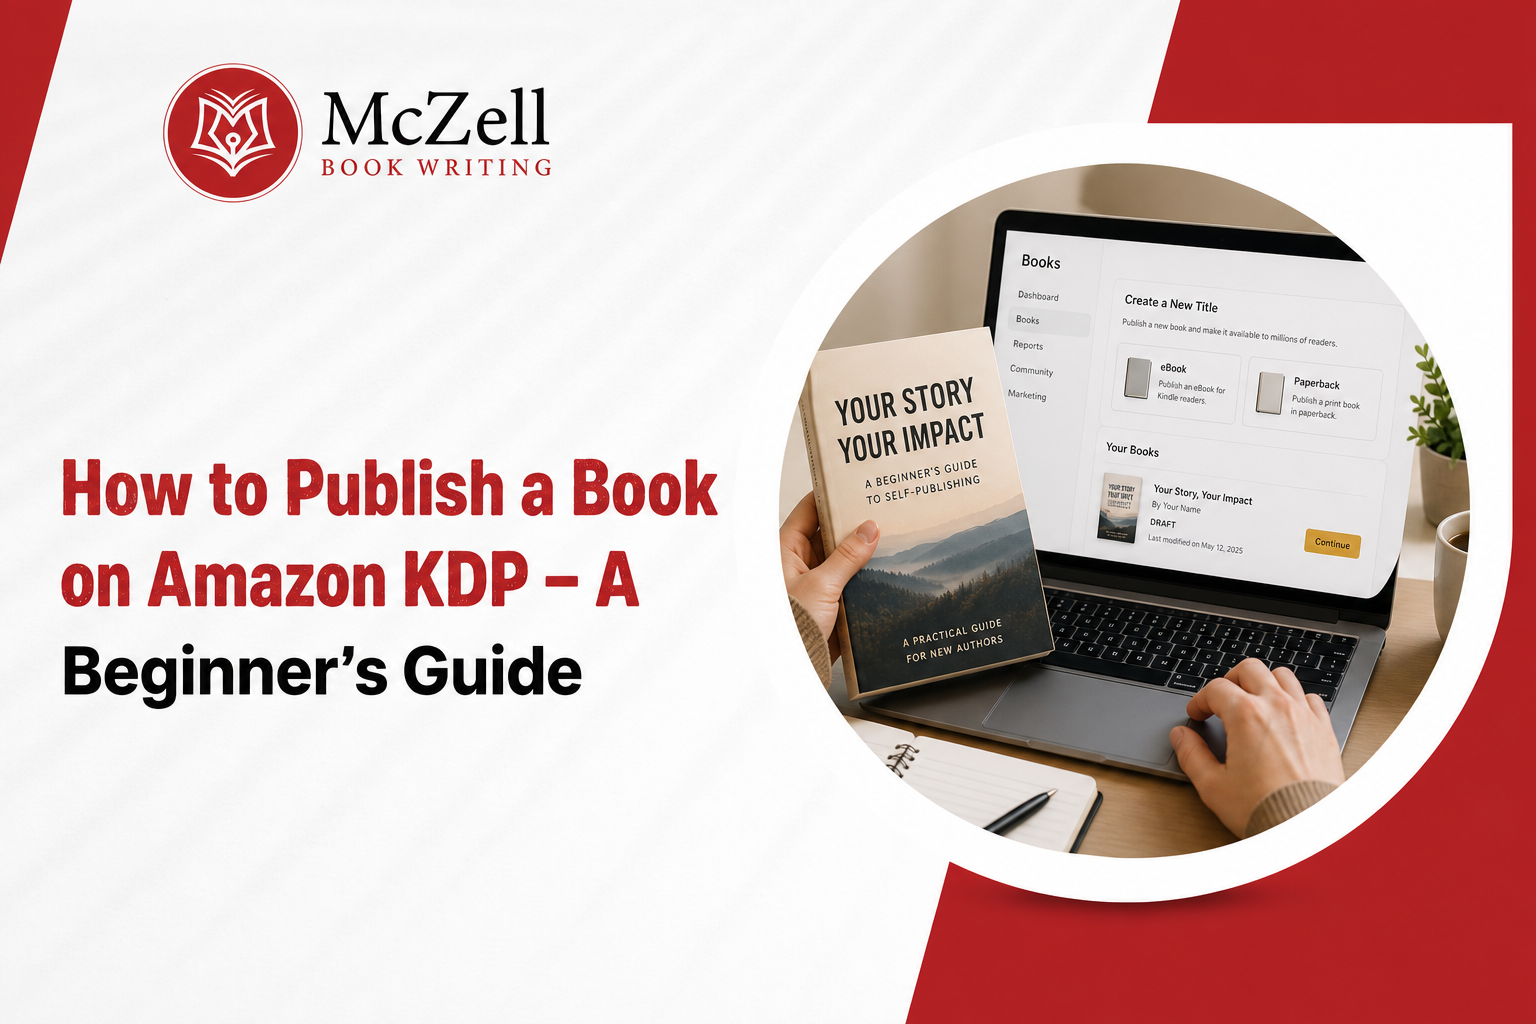
Becoming a published author was a complicated process a few years back. It involved sending bulky paper manuscripts to publishing houses and then waiting for months just to receive a rejection notice. But today, all you need is to submit a file from your office or home and become a published author within a week. The arrival of the Amazon Kindle Direct Publishing totally transformed the book publishing industry.
Anyone can now share their stories with millions of readers without an agent. But if you have never used the platform before, the setup process can feel confusing. You have to navigate tax forms and book formatting rules before you can sell a single copy. This guide will walk you through the publishing process step by step so you can finally get your book into the hands of real readers.
Understanding What Amazon KDP Actually Is
Kindle Direct Publishing is a self-publishing platform owned by Amazon. It allows authors to publish digital ebooks and physical print books for free. You do not pay Amazon to publish your book. Instead, they take a percentage of your sales as a royalty fee after a customer buys your book.
This print-on-demand model is amazing for new authors. In the past, you had to pay thousands of dollars to print books and hope they sold. Now, Amazon only prints a physical copy when a customer buys one. They handle the printing, shipping and customer service. You provide the content and collect your share of the profits. You also keep total ownership of your work. You can change your cover or update your pricing at any time.
Step #1 – Create and Set Up Your Account
You need a dedicated account to start publishing. Go to the official KDP website and sign up. You can use your regular Amazon shopping account, but many authors prefer to create a separate email address just for their publishing business. This keeps your royalty reports separate from your personal shopping receipts.
Once you log in, you will see a large warning banner asking you to complete your account information. You must finish this before you can upload a book. The setup requires three main pieces of information.
- Your personal details, including your legal name and physical address.
- Your bank account information so Amazon can send direct deposits.
- Your tax interview form because publishing income is taxable.
Do not rush through the tax section. If you live in the United States, you will provide your Social Security number. Amazon will not pay you until this section is verified. Take your time and enter everything exactly as it appears on your legal documents.
Step #2 – Prepare Your Manuscript Files
Amazon needs your book file to be formatted perfectly. If your text looks messy on the screen readers will leave bad reviews and ask for refunds. You cannot just upload a rough draft.
For an ebook, you should format your document with clear chapter breaks. Amazon accepts standard Word documents, but you must use the built-in heading styles for your chapter titles. This allows the software to build an interactive table of contents. You can also use free software to turn your word document into a perfect digital file.
For physical books, the rules are much stricter. You have to upload a print-ready file.
- Choose a specific book size, like six by nine inches.
- Set proper margins so your words do not get cut off.
- Embed all your fonts so they print correctly.
- Save the document in a format designed for printing.
If you struggle with formatting, you should hire a professional to lay out the pages. A clean interior makes your book look like a traditional publication.
Step #3 – Design a Professional Cover
There is no question about people judging books by their covers. Your cover is your best form of marketing. If it appears as if it were a hasty job that you did in five minutes, then the readers will pass right by it. A good cover catches the eye and lets the reader know just what kind of book they are buying.
Amazon has specific size requirements for covers. An ebook only requires a front cover image. A paperback requires a full wrap design. This means the file must include the back cover, the spine and the front cover all in one single image. The spine width depends on your page count.
You have a few options for creating this file.
- You can use the free Amazon cover creator tool.
- You can purchase pre-made covers online customized with your name.
- You can employ a professional book cover designer to create one for you.
The last option is usually the better choice. A good designer knows how to make your title eye-catching even in a small thumbnail on a phone screen.
Step #4 – Enter Your Book Details
Once your files are ready, you are set to begin uploading your files to Amazon. On the main page of your dashboard, click the create button and choose the kind of book you want to publish. The first page will ask you to fill in some basic information.
You will enter your exact book title and your author name. If you use a pen name, this is where you type it. You will then be asked to provide a brief summary of your book. This is basically a sales pitch, so you have to be creative and compelling here.
Then, you will be asked to choose categories and keywords. This is how readers find your work.
- Keywords are the specific phrases typed into the search box by customers looking for a book.
- Categories are like digital shelves where your book gets its place.
You will also see a section asking if your book uses artificial intelligence. Amazon recently updated their rules to protect readers. You must declare if you used automated tools to generate your text or images. Answer honestly to avoid account penalties.
Step #5 – Upload and Preview Your Files
The second page of the setup is where the upload happens. Amazon assigns you a free barcode number if you do not have your own. You then upload your interior manuscript file and your cover file.
After the file process, you must click the preview button. The previewer will present you with a picture of what your book will be like after being printed. You must browse through the pages and check for mistakes during this stage.
Look closely at the print margins. If your text goes past the dotted safety lines, the printer will cut off your words. Check your chapter titles to make sure they start on the correct pages. If you spot mistakes, you must fix them on your computer and upload a new version. Do not skip this quality check. A formatting error can ruin the reading experience.
Step #6 – Set Your Pricing and Royalties
The final page is where you decide how much money you want to make. You have complete control over your book price. For ebooks, you can choose between two different royalty plans.
- The thirty five percent plan lets you price your book very low or very high.
- The seventy percent plan requires pricing between specific standard amounts.
Most authors choose the higher royalty plan and price their digital books between three and ten dollars. For physical books, the pricing works differently. Amazon subtracts the cost of printing the book from your chosen retail price. You earn a sixty percent royalty on the remaining profit. The dashboard shows exactly how much money you will make per copy before you publish.
You will see an option to enroll your digital book in a special subscription program. You get paid based on how many pages people read. Enrolling means you cannot sell your digital book on any other website, but it often leads to much higher visibility in the Amazon store.
Step #7 – Order a Proof Copy and Publish
Prior to publishing your book, you should get a proof copy of your book from Amazon. They will print one copy of your book that will have a watermark on the cover and will send it to you.
Seeing your actual book is the only way you can find errors in it. You may see that the font used is too small or the color is too dark. You will be able to go back and change the files of your book in case there is something wrong with it.
After you are completely satisfied with your book, all you need to do is click the publish button. Amazon will conduct some reviews to check whether your books meet the community requirements. This review process usually takes about three days. Once approved, your book will appear live on the store, and you will be a published author.
Let the Professionals Help You Launch
Uploading files onto Amazon is just like following an instruction manual. Take your time and proofread the formatting, and you will have an amazing book ready for everyone to enjoy. However, getting your manuscript completely ready for the public is a big job. If your formatting is a mess or your cover looks cheap, you will struggle to make any sales. If you need expert help polishing your manuscript before uploading, Mczell Book Writing is ready to assist. We provide all kinds of professional formatting and editing services for your manuscripts. Contact our specialists now, and we will be happy to help you complete your publishing adventure.